The first time I made peanut butter flapjacks, I was convinced I’d nailed it. The kitchen smelled amazing, I felt very proud… and then I cut into them while they were still warm. They crumbled instantly. I stood there, holding a peanut-butter-covered knife, laughing at myself and eating the pieces straight from the pan (for research, obviously). That was the moment I became slightly obsessed with getting flapjacks just right — chewy, sliceable, and actually cooperative. This recipe is the result of many cozy afternoons, a lot of oats, and a genuine love for simple baking that works.
Table of Contents
Table of Contents
Peanut Butter Flapjack: What It Is (UK vs US)
Before we dive in, let’s clear up a little confusion — because depending on where you’re reading from, the word flapjack can mean very different things.
In the UK, a flapjack is a baked oat bar, usually made with oats, butter, and something sweet to hold it all together. That’s the kind we’re making here — chewy, sliceable, and perfect with a cup of tea or tucked into a lunchbox.
In the US, flapjacks usually mean pancakes. Delicious, yes — but definitely not what’s happening in this pan.
What This Recipe Makes (At a Glance)
| Term | What It Means Here |
|---|---|
| Flapjack (UK) | Chewy oat bar |
| Main texture | Soft center, lightly set edges |
| Base ingredient | Rolled oats |
| Flavor boost | Peanut butter |
| Cooking method | Baked or no-bake |
This peanut butter flapjack recipe makes classic oat bars, similar in feel to other slice-and-serve snacks on the site — if you enjoy bar-style treats like my Jam Crumb Bars or no-oven recipes such as No-Bake Balls, this one will feel very familiar and comforting.
Who This Recipe Is For
This recipe is designed for real life, not perfection contests:
- Beginner bakers who want something reliable
- Busy parents needing a snack that actually holds together
- Anyone who loves oat-based treats without complicated steps
No special equipment, no fancy techniques — just simple ingredients and clear guidance.
At this point, you’ve got two great options ahead: baked or no-bake. Let’s pick the one that fits your time, mood, and texture preference best.
Choose Your Flapjack Style (Pick One)
This peanut butter flapjack recipe is flexible, so you can choose the version that fits your time and texture preference best.
Quick Guide
| Style | Best For | Texture |
|---|---|---|
| Baked | Classic flapjacks | Chewy, sliceable |
| No-Bake | Fast & oven-free | Soft, fudgy |
| High-Protein | Filling snacks | Firm but tender |
| Kid-Friendly | Lunchboxes | Soft, mild |
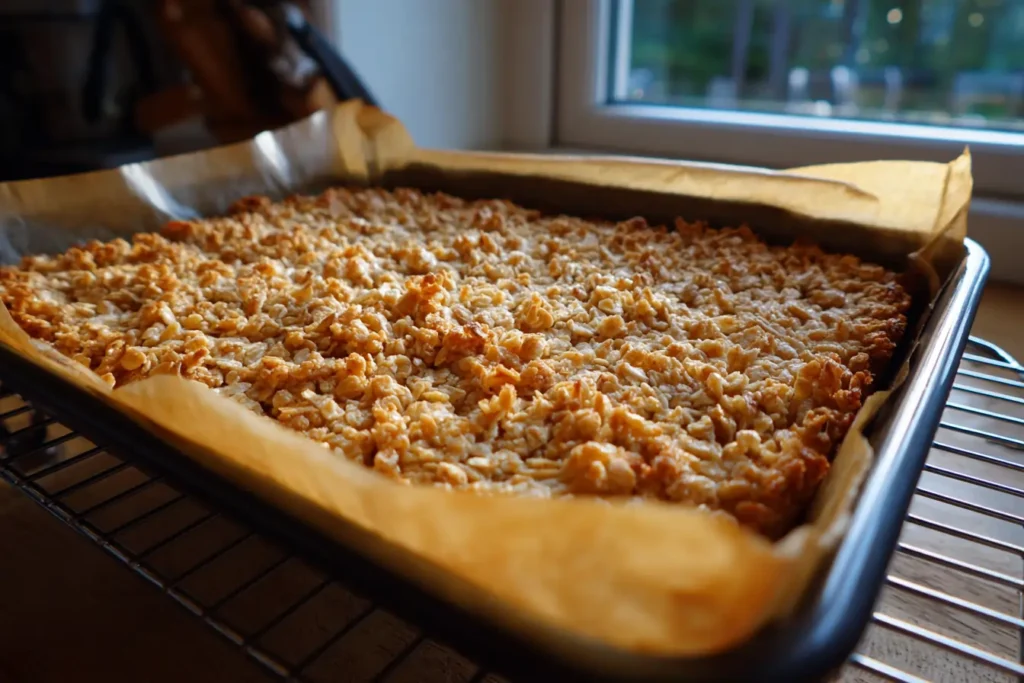
Baked Peanut Butter Flapjacks
The classic option. Baking helps the sweetener set, giving you chewy bars with clean slices and a lightly toasted oat flavor.
No-Bake Peanut Butter Flapjacks
Perfect when you don’t want to turn the oven on. These are softer and slightly denser, but still hold together well.
High-Protein Version
A small protein boost makes these more filling without drying them out (I’ll show you how later).
Kid-Friendly Version
Softer, gently sweet, and easy to slice into smaller bars. Nut-free swaps are included further down if needed.
Once you’ve picked your style, the next step is the most important one: using the right ingredients and ratios so your flapjacks don’t crumble.
Print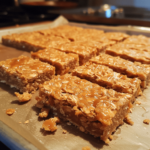
Peanut Butter Flapjack
- Total Time: 30 minutes
- Yield: 9 bars 1x
- Diet: Vegetarian
Description
These peanut butter flapjacks are soft, chewy, and perfectly sliceable — never dry or crumbly. Made with rolled oats, peanut butter, and a simple sweetener, this easy recipe works both baked or no-bake and is ideal for a comforting breakfast, snack, or light dessert.
Ingredients
Ingredients
-
2 cups (200 g) rolled oats
-
½ cup (120 g) peanut butter (smooth or crunchy)
-
⅓ cup (90 g) honey, maple syrup, or golden syrup
-
¼ cup (60 g) butter or coconut oil
-
Pinch of salt
Optional add-ins (choose one, max ¾ cup total):
-
Chocolate chips
-
Chopped nuts
-
Seeds
Instructions
-
Line an 8×8-inch (20×20 cm) pan with parchment paper and set aside.
-
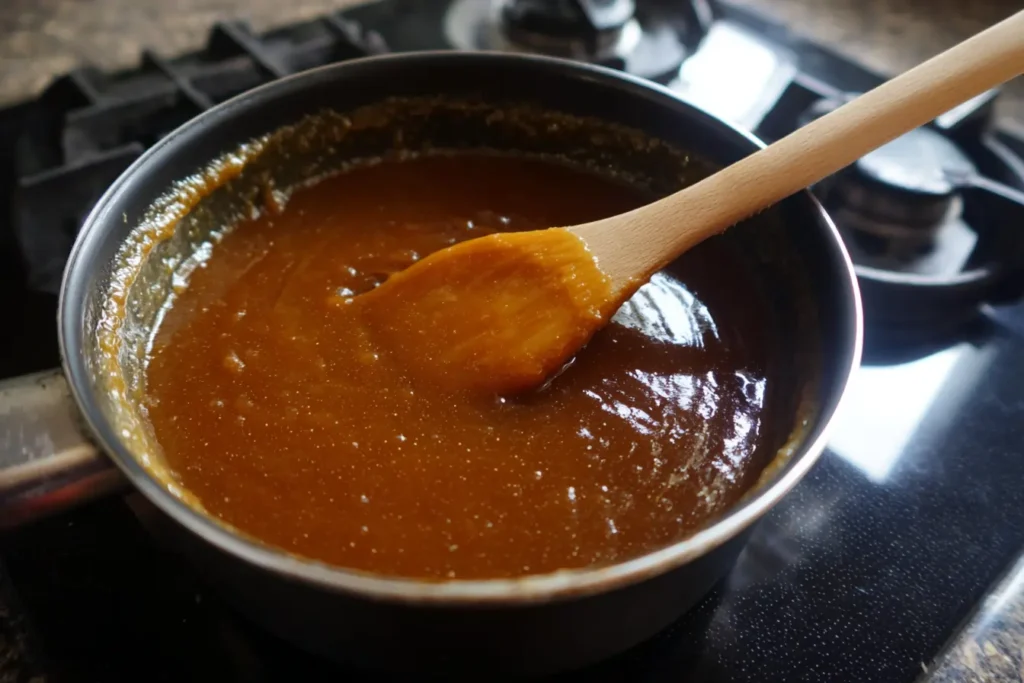
In a small saucepan over low heat, melt the peanut butter, butter (or oil), and sweetener together until smooth and glossy. Do not boil.
-
Remove from heat. Add the rolled oats and salt. Stir until all oats are evenly coated and the mixture clumps when pressed.
-
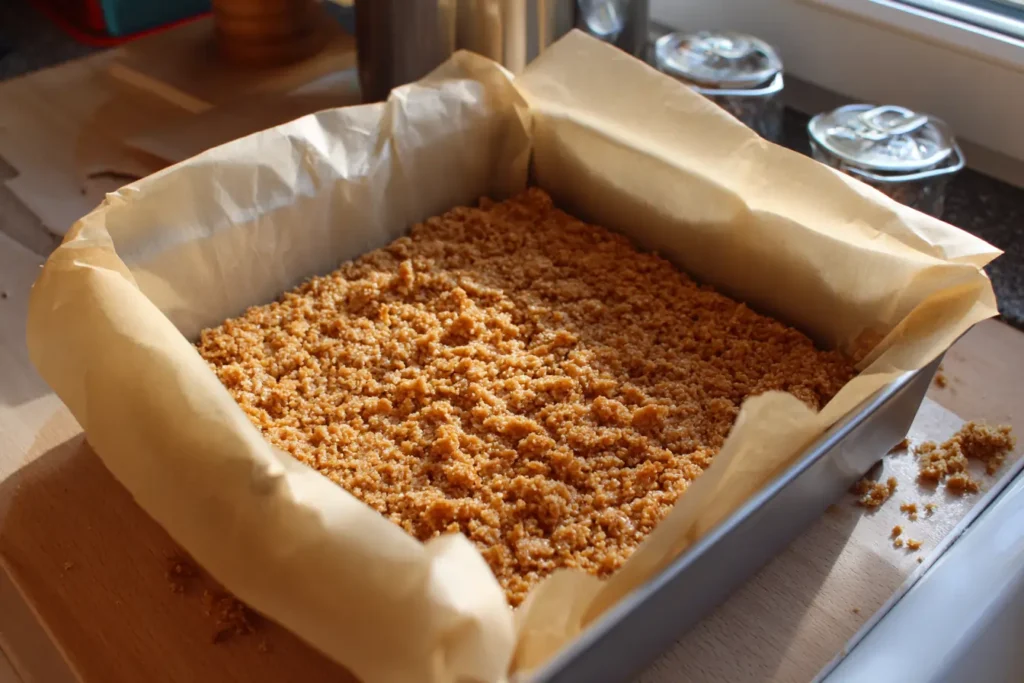
Transfer the mixture to the prepared pan. Press firmly and evenly using the back of a spoon or glass.
-
Choose your method:
-
Baked: Bake at 350°F / 180°C for 18–22 minutes, until lightly golden at the edges.
-
No-bake: Refrigerate for 2–3 hours, until fully set.
-
-
Allow to cool completely in the pan before slicing into bars.
Notes
-
Let the flapjacks cool fully before slicing — this is key for clean, sturdy bars.
-
Rolled oats work best. Quick oats may result in a softer, crumbly texture.
-
If the mixture feels dry, add 1–2 tablespoons warm sweetener. If too wet, add a few tablespoons oats.
- Prep Time: 10 minutes
- Cook Time: 20 minutes (baked)
- Category: Dessert
- Method: Baking
- Cuisine: British-inspired
Nutrition
- Serving Size: 1 bar
- Calories: 240 kcal
- Sugar: 14 g
- Sodium: 95 mg
- Fat: 14 g
- Saturated Fat: 4 g
- Trans Fat: 0 g
- Carbohydrates: 24 g
- Fiber: 3 g
- Protein: 7 g
- Cholesterol: 10 mg
Ingredients That Make Peanut Butter Flapjacks Hold Together
This is the part that makes or breaks a peanut butter flapjack. Most crumbly bars don’t fail because of the recipe — they fail because the ingredients aren’t doing the right jobs.
Let’s fix that.
The 4 Ingredients That Control Texture
- Rolled oats → structure and chew
- Peanut butter → richness + binding power
- Sweetener (honey, maple, or golden syrup) → holds everything together once cooled
- Butter or oil → softness (too much = greasy, too little = dry)
Get these right, and your flapjacks behave beautifully.
Best Oats for Flapjacks (This Matters)
| Oat Type | Result | Use or Skip |
|---|---|---|
| Rolled oats | Chewy, sliceable | ✅ Best choice |
| Jumbo oats | Very chewy, rustic | ✅ Optional |
| Quick oats | Soft but crumbly | ❌ Not ideal |
| Steel-cut oats | Hard, uneven | ❌ Avoid |
Tip: If you enjoy oat-based bakes like my Cinnamon Cottage Cheese Oatmeal Bake, rolled oats are doing the same reliable work here.
Peanut Butter: Smooth vs Crunchy
- Smooth peanut butter = strongest binder, clean slices
- Crunchy peanut butter = great flavor, slightly looser texture
Both work — just know that crunchy peanut butter adds texture and tiny gaps, so pressing firmly becomes more important.
Natural peanut butter is fine, but make sure it’s well stirred before using.
Sweetener Showdown (Honey vs Maple vs Golden Syrup)
| Sweetener | Texture Result | Flavor |
|---|---|---|
| Honey | Chewy, slightly firmer | Warm, classic |
| Maple syrup | Softer set | Light, mellow |
| Golden syrup | Most traditional | Rich, caramel-like |
All three work — just don’t reduce the amount. Sweetener isn’t only for sweetness; it’s what sets the bars.
Foolproof Peanut Butter Flapjack Recipe (Base Method)
This is the base recipe that works for both baked and no-bake versions. Once you’ve made it once, you’ll be able to repeat it without even thinking about it.
Ingredients (UK ↔ US Friendly)
- 200 g (2 cups) rolled oats
- 120 g (½ cup) peanut butter (smooth or crunchy)
- 90 g (⅓ cup) honey, maple syrup, or golden syrup
- 60 g (¼ cup) butter or coconut oil
- Pinch of salt (don’t skip — it balances the sweetness)
Optional add-ins come later — keep it simple for now.
Step-by-Step Method
- Melt the binder
In a small saucepan over low heat, gently melt the butter (or coconut oil), peanut butter, and sweetener together.
Look for: smooth, glossy, pourable — not bubbling. - Mix with the oats
Pour the warm mixture over the oats and salt. Stir until every oat is coated.
Look for: a thick mixture that clumps when pressed between your fingers. - Press into the pan
Line an 8×8-inch (20×20 cm) pan with parchment. Tip the mixture in and press firmly into an even layer.
Look for: a compact surface with no loose oats. - Choose your finish
- Baked: Bake at 180°C / 350°F for 18–22 minutes, until lightly golden at the edges.
- No-bake: Place in the fridge for 2–3 hours, until firm.
- Cool completely
This part is non-negotiable. Let the flapjack cool fully in the pan before slicing.
Look for: firm edges and a set center that holds clean lines.
Pan Size & Thickness Guide
| Pan Size | Result |
|---|---|
| 8×8-inch | Thick, chewy flapjacks (recommended) |
| 9×9-inch | Slightly thinner, still soft |
| 9×13-inch | Thin bars, less chewy |
If you want soft centers, smaller pans are your friend.
When Is It Ready?
- The top should look set, not wet
- The edges should feel firm
- The center will still feel soft — it firms up as it cools
Once your base flapjack is done, it’s time to check the details that separate okay bars from perfectly chewy ones.
Visual Texture Cues (So You Know You’re Doing It Right)
This is the part most recipes skip — and the reason people think they’ve done something wrong when they haven’t. Flapjacks are all about feel, not just time.
Here’s what to look for at each stage.
The Mixture Stage
After mixing the oats with the warm peanut butter mixture:
- It should look thick and glossy
- When you squeeze a spoonful in your hand, it should clump together
- You shouldn’t see dry oats falling away
If it looks too dry: add 1–2 tablespoons of warm sweetener
If it looks too wet: add 2–3 tablespoons of oats
The Pressing Stage
When the mixture goes into the pan:
- Press firmly and evenly
- Use the back of a spoon or a flat-bottomed glass
- Pay extra attention to the corners
What you want:
A smooth, compact surface with no loose oats. This step does more for structure than baking time ever will.
The Baking & Cooling Stage
Right out of the oven (or fridge), the flapjack will feel soft — this is normal.
- Edges should feel set
- The center should still feel slightly soft
- The top should look dry, not shiny
Let it cool completely in the pan. Cutting early is the fastest way to lose clean slices.
The Perfect Slice
Once cooled:
- A knife should glide through without dragging
- Edges stay neat
- The middle bends slightly before breaking
That gentle bend? That’s your sign of a perfectly chewy peanut butter flapjack.
Flavor Variations (Chocolate, Vegan, Protein, Low Sugar)
Once you’ve made the base peanut butter flapjack, this is where you can start playing a little. The good news? You don’t need to change much — just small tweaks that keep the texture right.
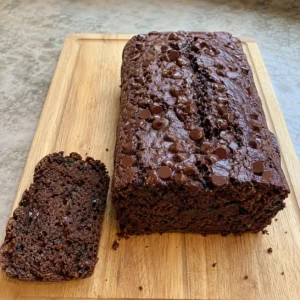
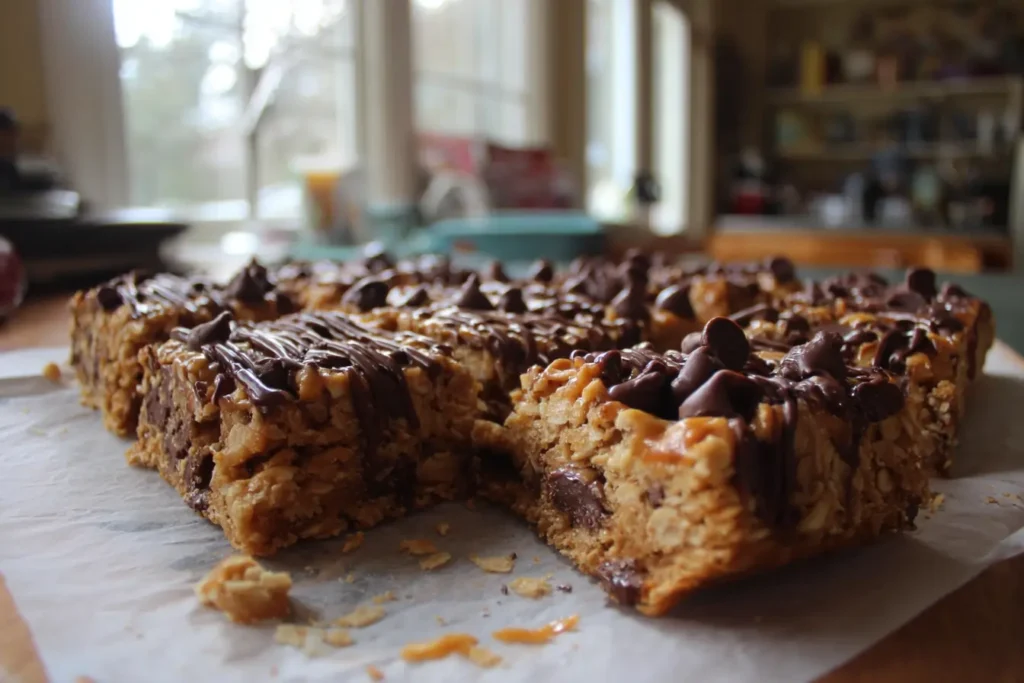
Peanut Butter Chocolate Flapjack
If you’re in the mood for something a bit more indulgent, chocolate is the easiest add-in.
How to do it:
- Stir ½ cup chocolate chips or chunks into the mixture after it cools slightly
- Or drizzle melted chocolate over the top once baked and cooled
Tip: Add chocolate when the mixture is warm, not hot, so it doesn’t melt away completely.
Vegan Peanut Butter Flapjack
This version works beautifully with simple swaps.
Easy swaps:
- Butter → coconut oil or vegan butter
- Honey → maple syrup or golden syrup
The texture stays soft and chewy, with no extra steps needed.
High-Protein Peanut Butter Flapjack
Perfect for a more filling snack, especially mid-morning or after a walk.
How to boost protein safely:
- Add 2–3 tablespoons protein powder (vanilla or unflavored works best)
- Add 1 extra tablespoon sweetener to balance moisture
This keeps the flapjacks tender instead of dry.
Low-Sugar Options
You can reduce sweetness without sacrificing structure.
Good options:
- Use ripe mashed banana (replace up to ¼ of the sweetener)
- Use date syrup for a deeper, less sweet flavor
Avoid removing sweetener completely — it’s part of what helps the flapjacks hold together.
The Mix-In Rule (Very Important)
To keep your flapjacks sliceable:
Limit total add-ins to ¾ cup per batch
Too many extras = crumbly bars, no matter how good the idea sounded.
Nutrition & “Healthy-ish” Reality Check
Let’s talk honestly about where peanut butter flapjacks fit in everyday life — because this isn’t a salad, but it’s also not a candy bar pretending to be something else.
A homemade peanut butter flapjack sits nicely in that middle ground: satisfying, comforting, and made with ingredients you actually recognize.
Are Peanut Butter Flapjacks Healthy?
Healthy depends on context, and in this case, it’s about balance.
Peanut butter flapjacks are:
- Made with whole rolled oats, which provide fiber
- Rich in healthy fats and protein from peanut butter
- More filling than most packaged snack bars
Because you control the ingredients, a peanut butter flapjack recipe like this one is often a better option than store-bought bars that rely on fillers and preservatives.
What Makes This Peanut Butter Flapjack More Balanced
Compared to many snack bars, these peanut butter oat flapjacks work well because:
- Oats slow digestion and keep you full longer
- Peanut butter adds staying power and flavor
- Sweetener is used for structure, not overload
That combination makes chewy peanut butter flapjacks a solid choice for:
- Mid-morning snacks
- Afternoon energy dips
- Pre-walk or post-walk fuel
How to Make Peanut Butter Flapjacks Lighter (If You Want)
If you’re aiming for a slightly lighter version, you can tweak without ruining texture:
- Use maple syrup instead of honey for a softer, less sweet result
- Slice the flapjacks smaller — they’re rich, so a little goes a long way
- Pair one flapjack with fruit or yogurt for balance
You don’t need to turn this into a “diet” recipe for it to work.
Homemade vs Store-Bought Flapjack Bars
Here’s where homemade wins:
- Fewer ingredients
- Better texture
- No mystery oils or fillers
- Fresh, chewy results instead of dry bars
A peanut butter flapjack made at home is meant to be enjoyed — not micromanaged.
FAQ’s: Peanut Butter Flapjacks
Are peanut butter flapjacks healthy?
Peanut butter flapjacks are best described as healthy-ish. They’re made with whole rolled oats and peanut butter, which provide fiber, healthy fats, and protein. When homemade, a peanut butter flapjack recipe like this one is usually more balanced than store-bought snack bars with long ingredient lists.
Why are my peanut butter flapjacks crumbly?
The most common reason peanut butter flapjacks crumble is not enough binder. Sweetener and peanut butter aren’t just for flavor — they help the oats stick together. Cutting the flapjacks before they’ve fully cooled can also cause them to fall apart.
Can I make peanut butter flapjacks without baking?
Yes! No-bake peanut butter flapjacks work very well. Instead of baking, the mixture is chilled until firm. The texture is slightly softer and fudgier, but still sliceable once set.
What oats are best for peanut butter flapjacks?
Rolled oats (old-fashioned oats) are the best choice for peanut butter flapjacks. They create a chewy texture and hold together well. Quick oats tend to make flapjacks softer and more crumbly, while steel-cut oats should be avoided.
Can I use crunchy peanut butter?
Absolutely. Crunchy peanut butter flapjacks have more texture and bite. Just be sure to press the mixture firmly into the pan, as the nut pieces slightly reduce binding compared to smooth peanut butter.
Conclusion
Peanut butter flapjacks are one of those recipes that feel small, but quickly become a regular part of the kitchen routine. When the balance is right, they’re chewy, satisfying, and easy to slice — without needing complicated steps or special ingredients.
This recipe focuses on keeping things simple and reliable, with clear cues so you know what’s happening at each stage. Once you’ve made it a couple of times, it’s easy to adjust the sweetness, texture, or add-ins to suit your taste.
Whether you bake them or go no-bake, these peanut butter flapjacks are meant to be relaxed, homemade, and enjoyable — exactly the kind of recipe you can come back to whenever you want something comforting and easy.
for more recipes follow me in Facebook, Pinterest and medium.